Seed Starting 101
Starting your garden from seeds can feel intimidating at first, but it’s such a rewarding way to grow your own plants. Watching tiny seeds sprout into healthy seedlings and eventually full-grown vegetables, herbs, or flowers is a magical experience—and it doesn’t have to be complicated!
But you will have to gather a few supplies. You’ll need seed trays, bottom flats that support the trays, seed-starting mix, plant tags, clear dome lids, and shop lights. Johnny’s Selected Seeds sells many of the supplies listed below. You can also find similar items at your local hardware store, garden center, or online.
Let’s go over each one below!
Seeds – Choose easy-to-grow varieties like zinnia, cosmo, marigolds.
Seed trays or small pots – You can use recycled containers like yogurt cups, or get a 72 cell seedling tray. Many stores sell a kit that contain all three: a 72-cell plug flat, a leakproof tray, and a clear dome lid.
Seed-starting mix – Any light, well-draining soil mix specifically for seeds.
Watering tool – A gentle spray bottle works better than a harsh stream of water.
Light source – A sunny windowsill works, but I strongly encourage you to get a grow light, your seedlings will be much stronger with consistent lighting.
Labels – So you don’t forget which seed is which!
Step-by-Step Seed Starting
Prepare your containers: Fill trays or pots with moistened seed-starting mix. Don’t pack it too tightly—seeds need air to germinate.
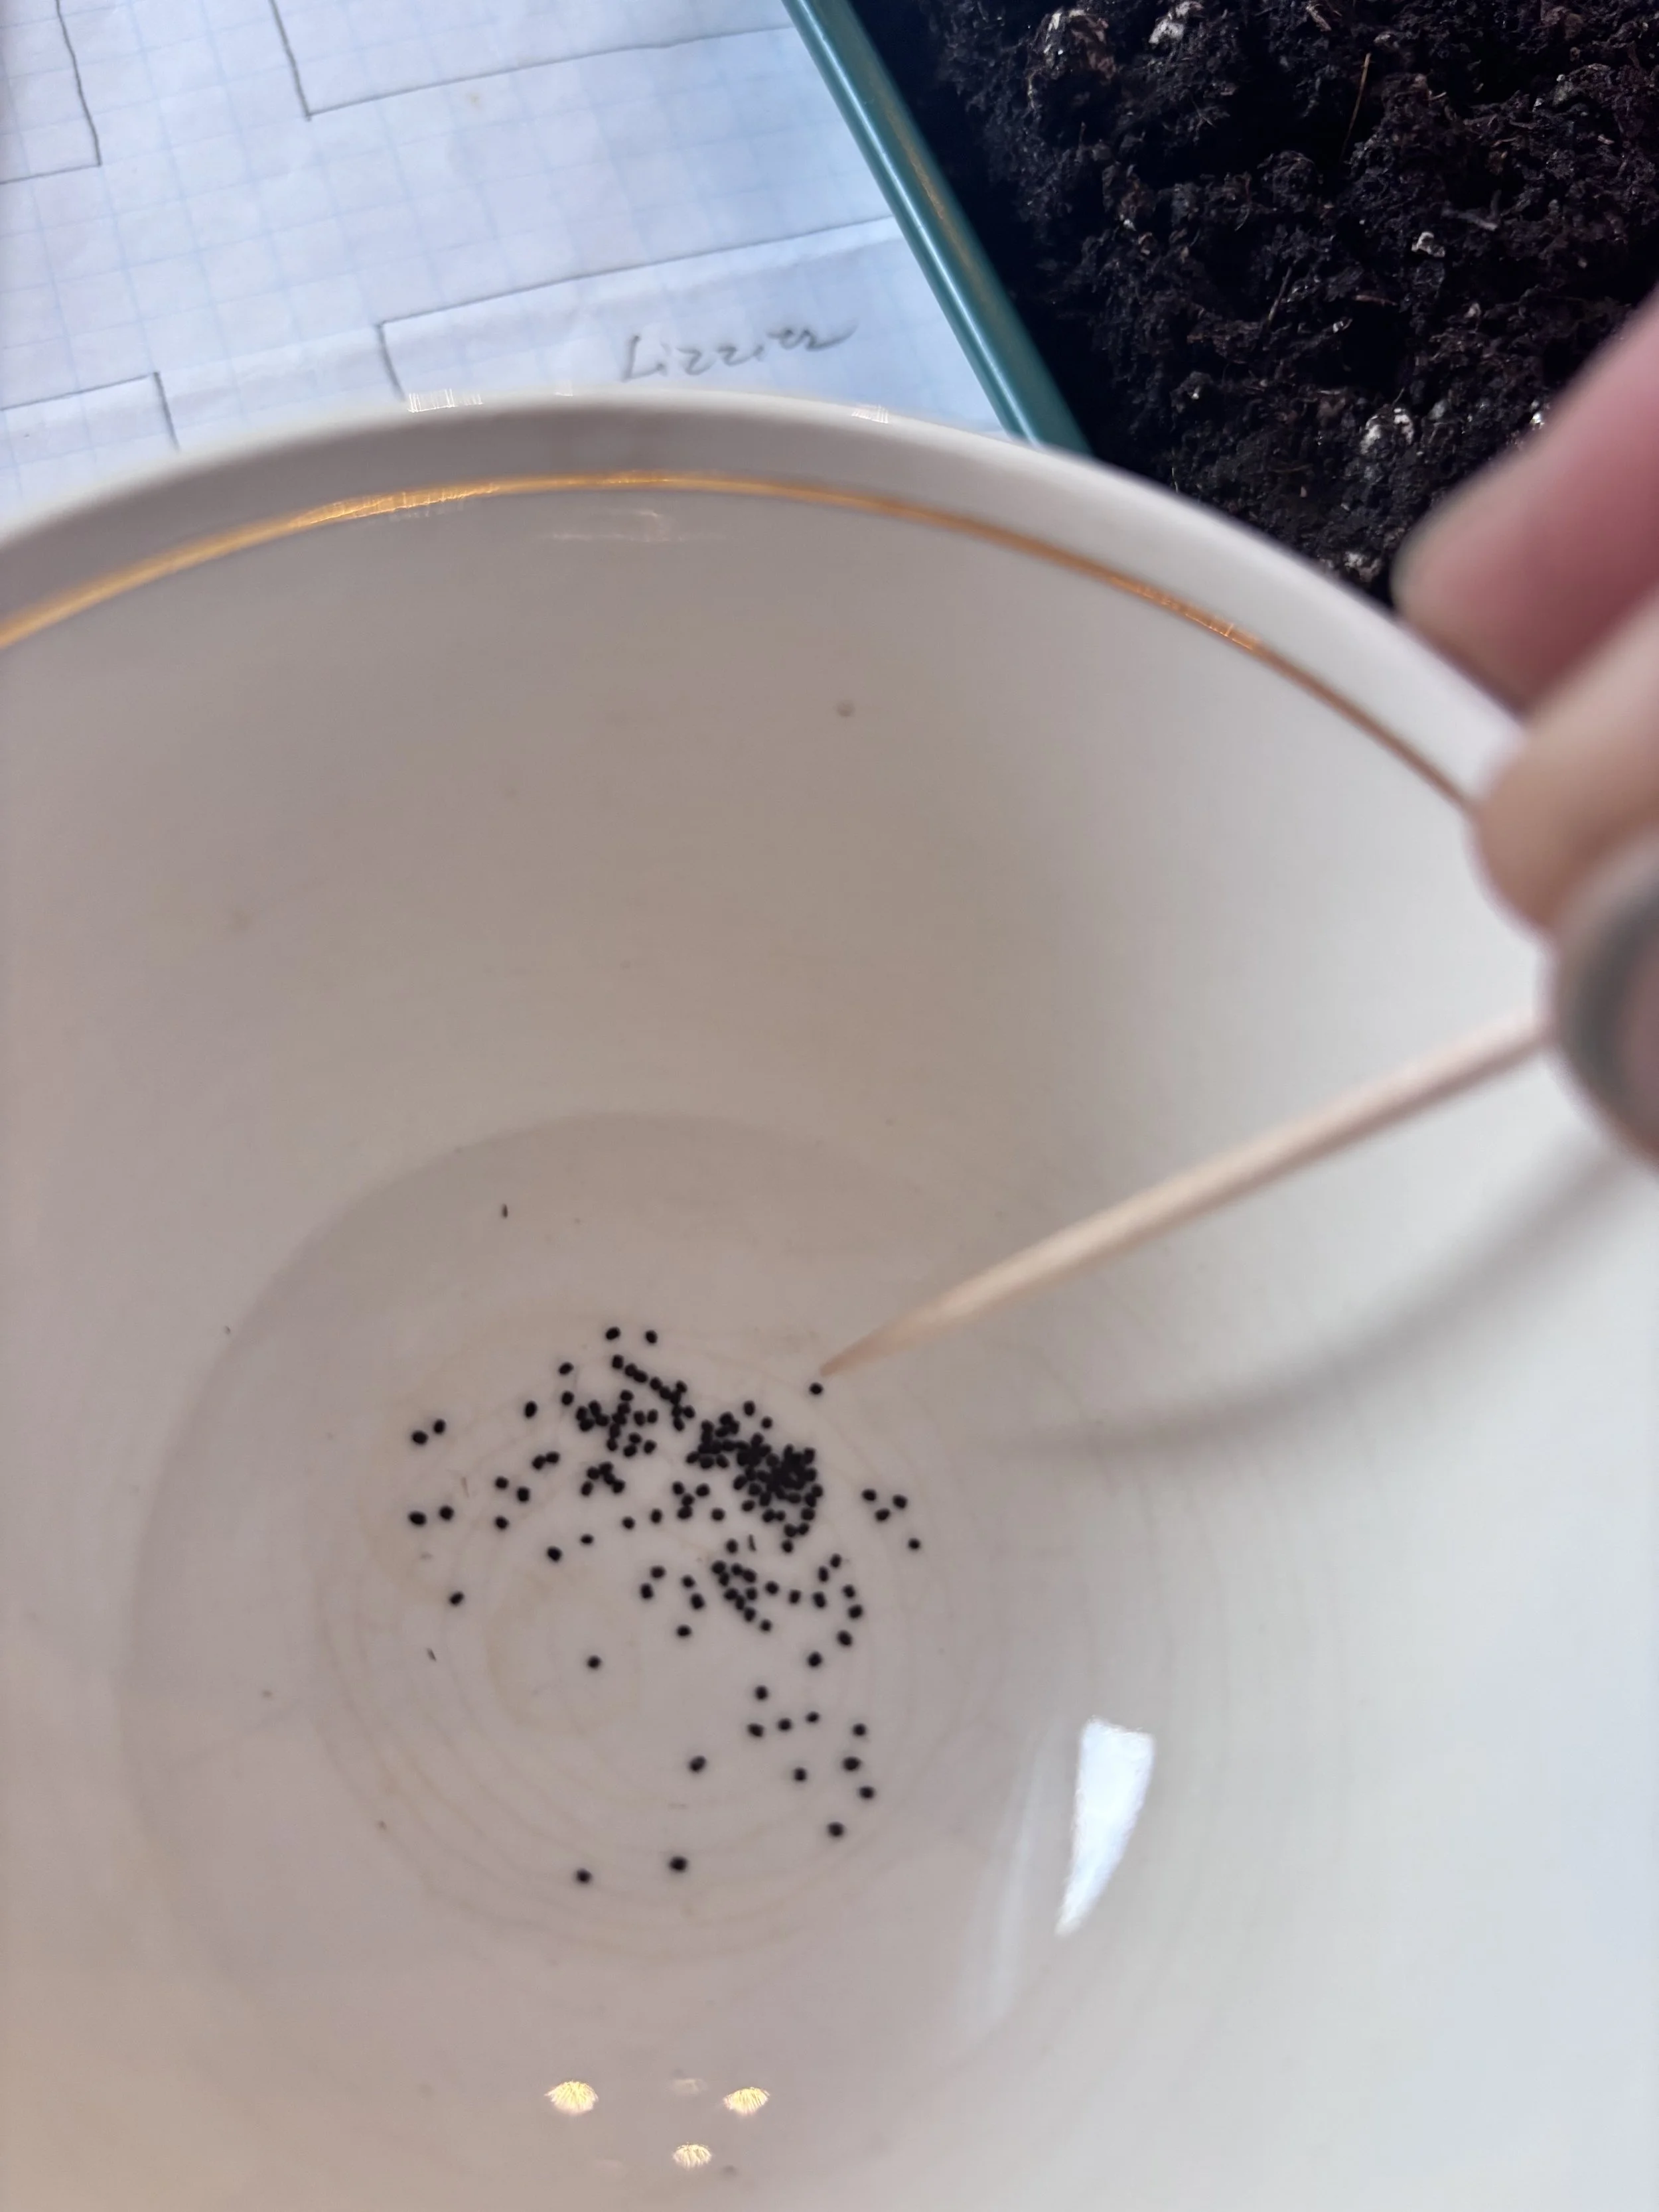
Plant your seeds: Check the seed packet for depth instructions. A general rule is to plant seeds about twice as deep as their size. If your seeds are extra small, I like to use a toothpick that has been wet at the end to help transfer my seeds. After seeds are in place, cover lightly with a fine vermiculite of fine soil.
Water gently: Moisten the soil without washing away the seeds. A spray bottle is perfect. Then cover with your plastic dome. If you don't have a dome, you can use plastic wrap. This helps hold in moisture.
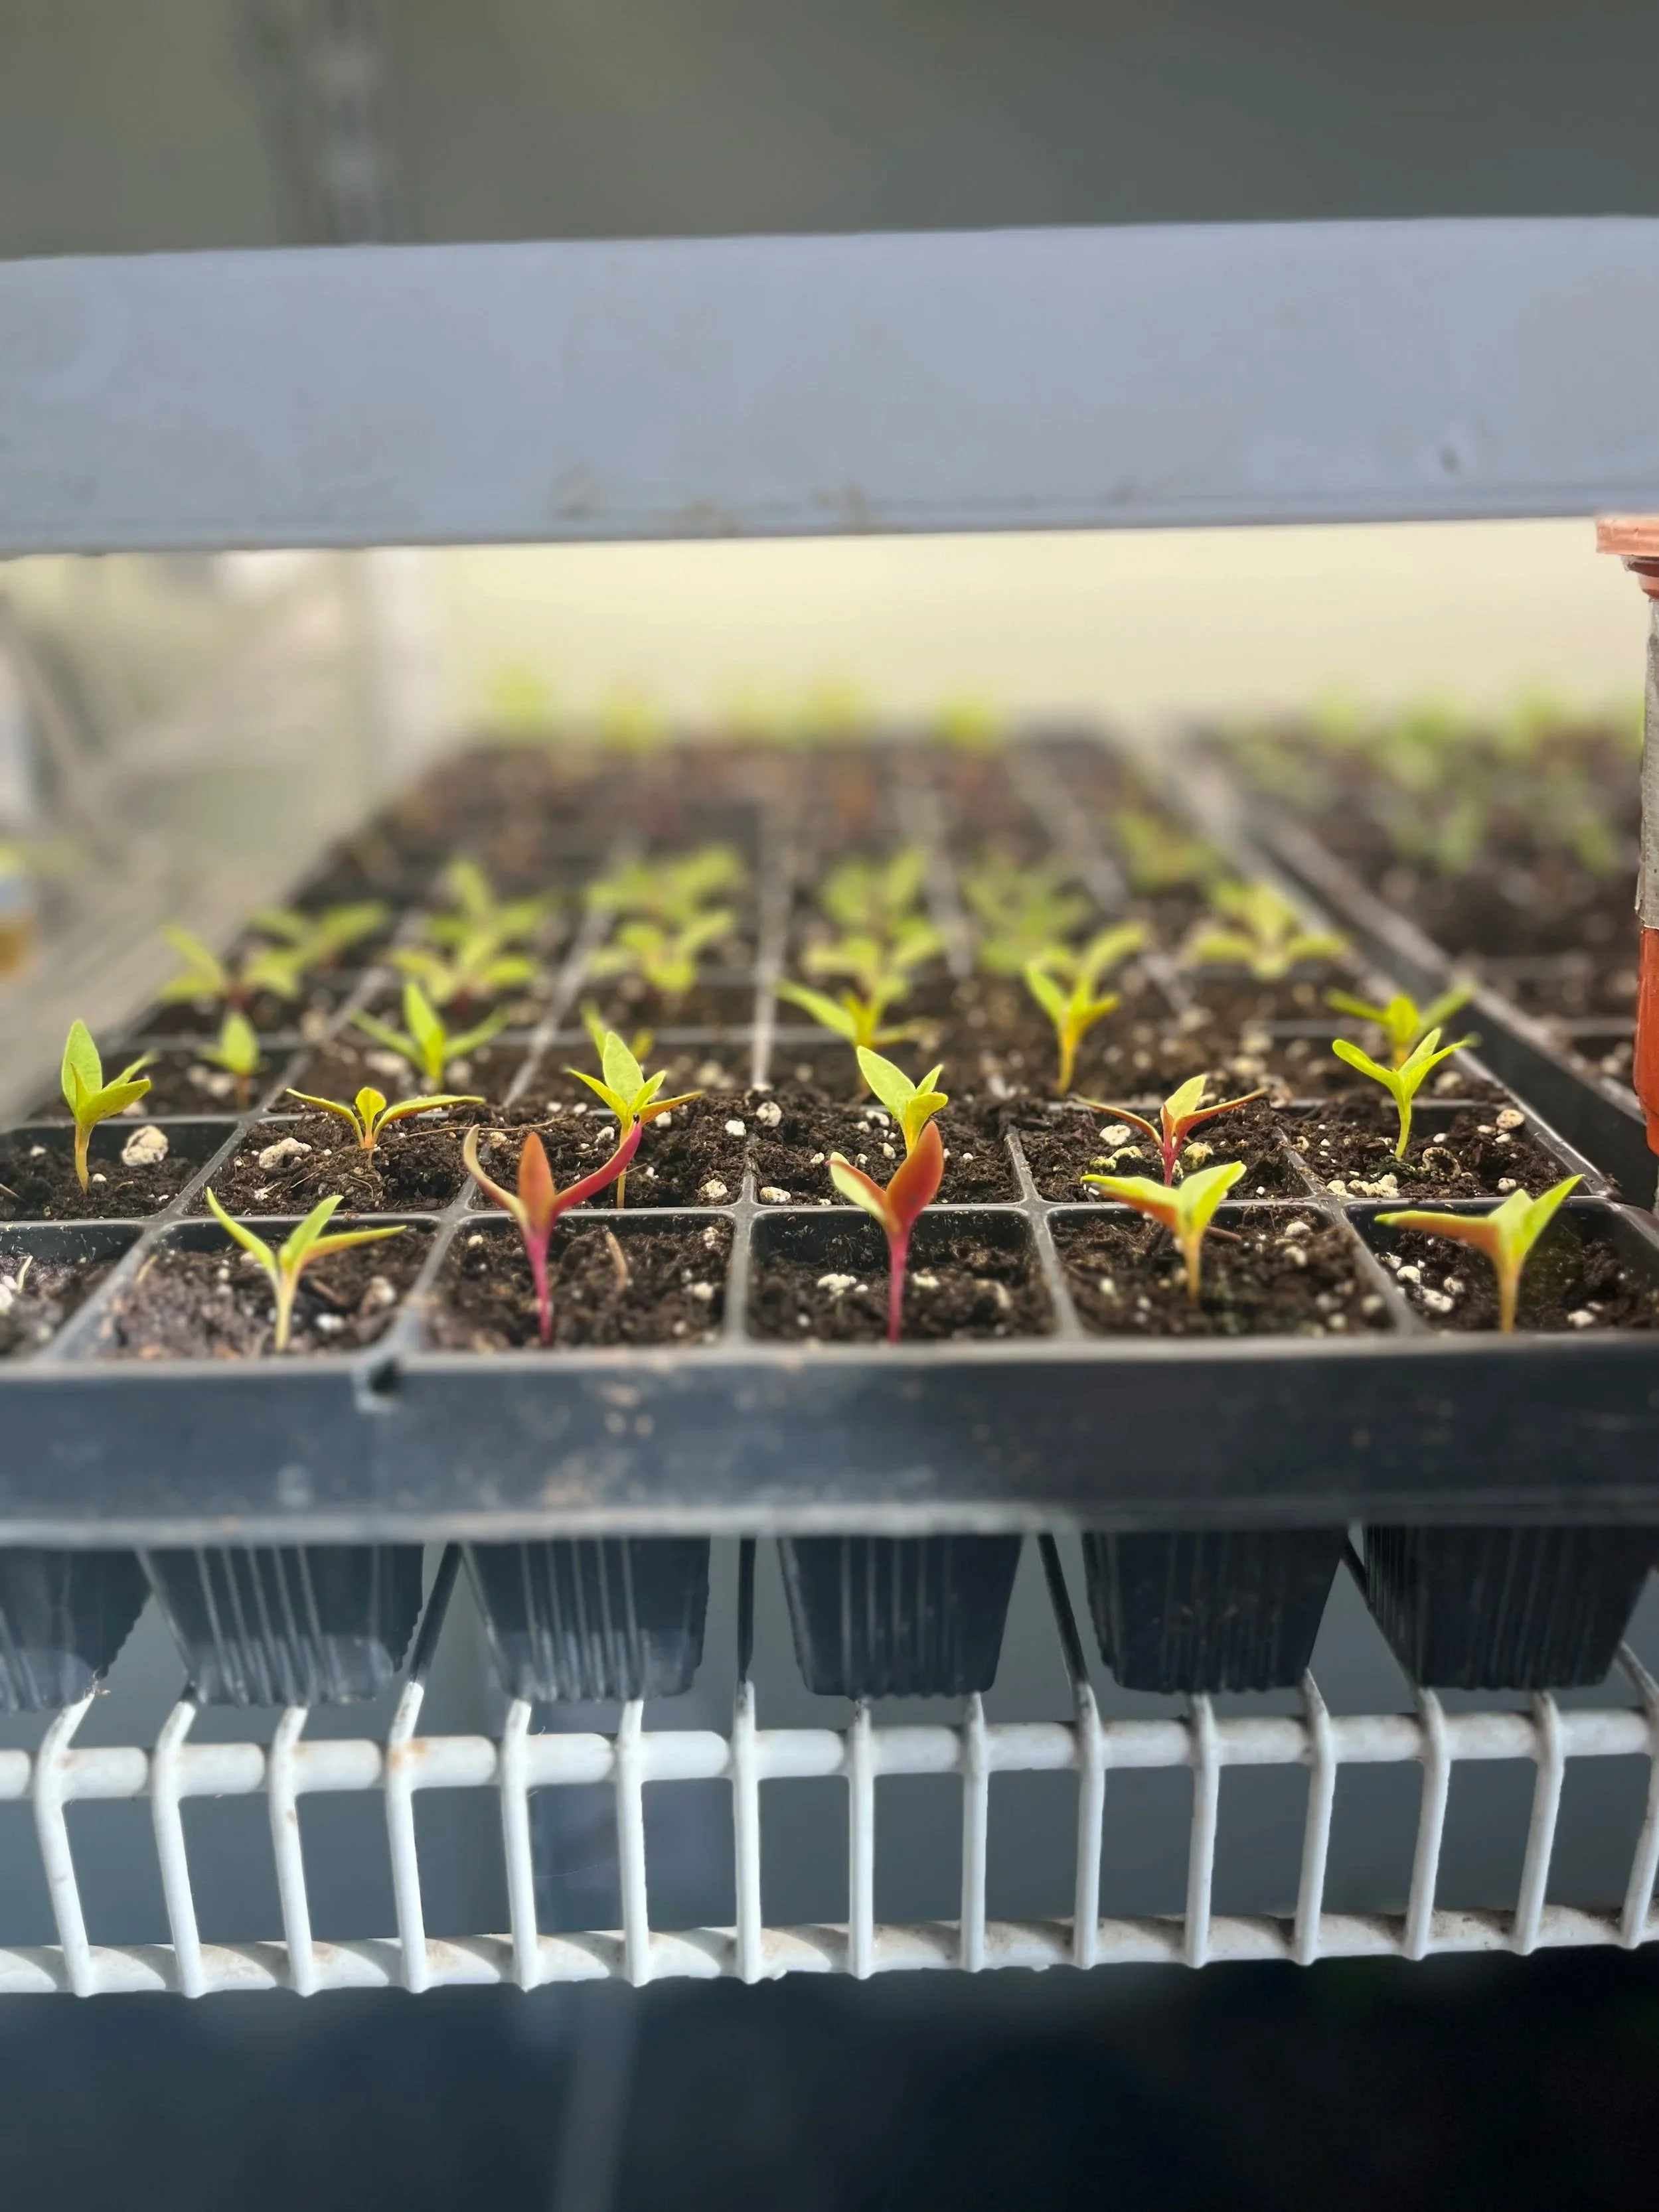
Provide warmth: Most seeds germinate best in a warm environment (65–75°F / 18–24°C). A heating mat can help if your home is cool.Check the trays or pots daily. Once 50–75% of the seeds have sprouted, remove the dome lids and move trays to a spot with bright light, such as a south facing window, greenhouse or under lights.
Transplanting Seedlings
When your seedlings are strong enough, it’s time to move them outdoors.
Harden them off: Gradually expose them to outdoor conditions over 7–10 days. Start with a few hours in a shaded area and slowly increase time and sun exposure. If you skip this part and plant your tender seedlings straight into the garden they will be shocked by the sudden change in temperature and could wilt and die.
Final Tips:
Keep a notebook or log of what you planted and when—it helps track success.
Start small—success with a few types of seeds is better than overwhelming yourself.
Enjoy the process! Seed starting is as much about patience and observation as it is about gardening.
Starting seeds is a fun, satisfying way to grow your own garden from scratch. With a little patience, some basic supplies, and consistent care, even the newest gardeners can enjoy the thrill of watching life sprout from tiny seeds.
If you decide to start seeds, I would love to see a picture of your plant babies! 🌱